After our tournament was done we ended up having a full day to kill before heading back home. We decided to spend the day at Chicago's Field Museum, which one of the world's largest museums of natural history. The girls started off the day with a famous classic hot dog Chicago style.
For my layout I used CTMH's new Enchanted Fundamentals along with the School 7 -12 Complements. Above is my layout before I add the new CTMH Memory Protectors.
Above you can see how big the museum is from the outside. When you first walk into the museum you see 'Sue' who is the largest, best-preserved, and most complete Tyrannosaurs ever found. Sue measures 42 feet long and is 13 feet tall. She has 58 dagger-like teeth! Can you imagine that coming at you?
The museum had a large prehistoric section. We also went through the Greek history, ancient Egypt, Native American, insects, and so much more. Big cities = great museums!
Since I took so many photos, but didn't want to do more then one layout I used the new Memory Protectors Pocket Plus from CTMH.
I used the horizontal and vertical design so that I could include all of the pictures I took of the exhibits. I was able to add a total of 20 photos! Love it!
One of the reasons I wanted to go to this museum was to see the Terracotta Warriors from China's first emperor that they had on display. I have always wanted to see them and it was the perfect opportunity. Can you imagine un-earthing these statues? What a find. The museum truly had everything.
By the end of the day we were pooped! Time to get back home and get back to our Texas life.
Till next time make sure you print those pictures and get them preserved to share with your family and friends.
Your creative coach,
Lori
Tuesday, October 25, 2016
Tuesday, October 18, 2016
19 Things You May Not Know About Our My Acrylix® Stamps
Think you know everything about our exclusive My Acrylix® stamps? Put your knowledge to the test by reading the list below!
1. We have French and Spanish stamp sets.
2. If you see a stamp image outlined in red, that means it coordinates with one of the shapes from our Cricut® collections. If it’s outlined in blue, that means it coordinates with one of our Thin Cuts dies.
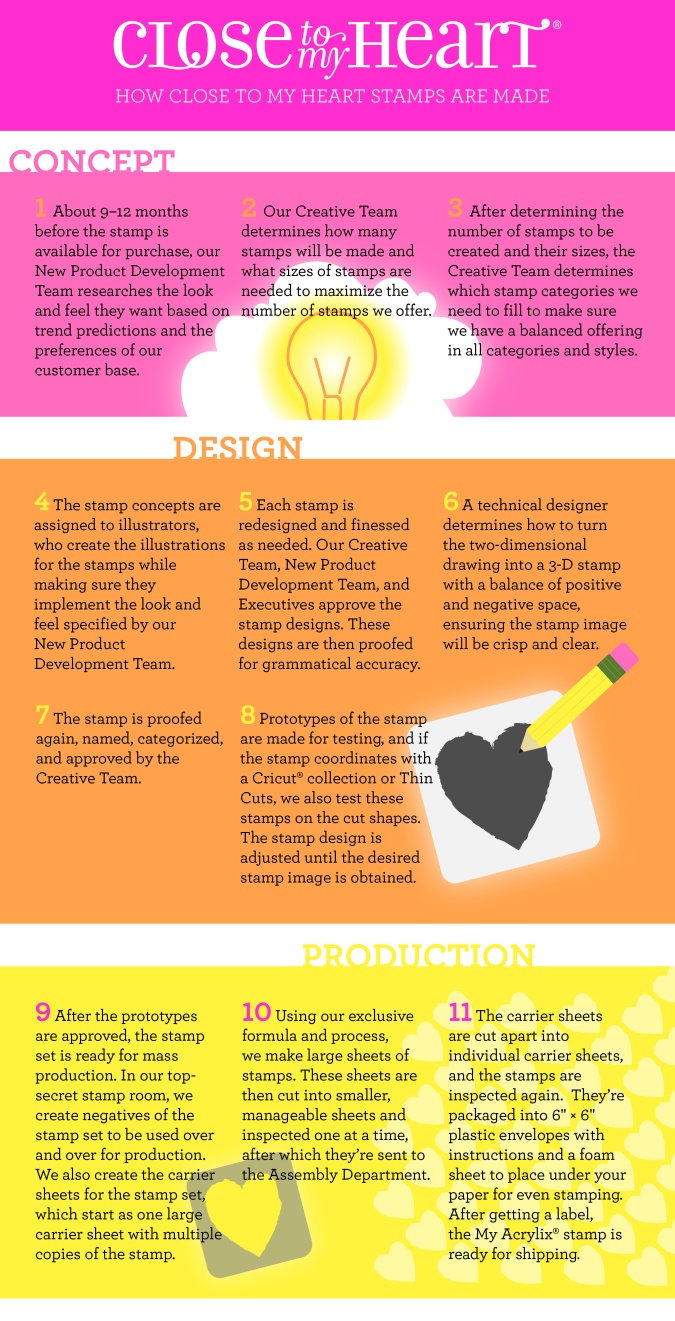
3. We put A LOT of thought and effort into making the best stamps for our customers. See the entire process in this infographic:
4. After we design each paper packet, we create two coordinating stamp sets, one for scrapbooking and one for cardmaking, to be paired with that specific paper. These two stamp sets can be found in the idea book right behind the coordinating Workshops Your Way™ scrapbooking kits.
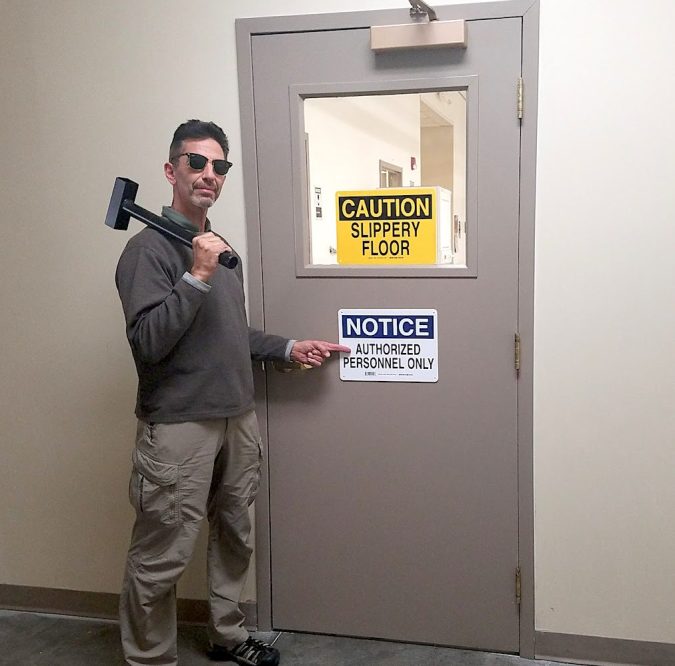
5. Our stamps are made right here at the Home Office, in a top-secret room.
6. It takes about one hour to make one sheet of stamps from start to finish.
7. New stamps work best when you “season” them. To do so, rub the stamp across a stamp pad, and then stamp onto scrap paper until the image is even.
8. Our stamps can be used with all sorts of inks, including dye, pigment, solvent, and alcohol inks.
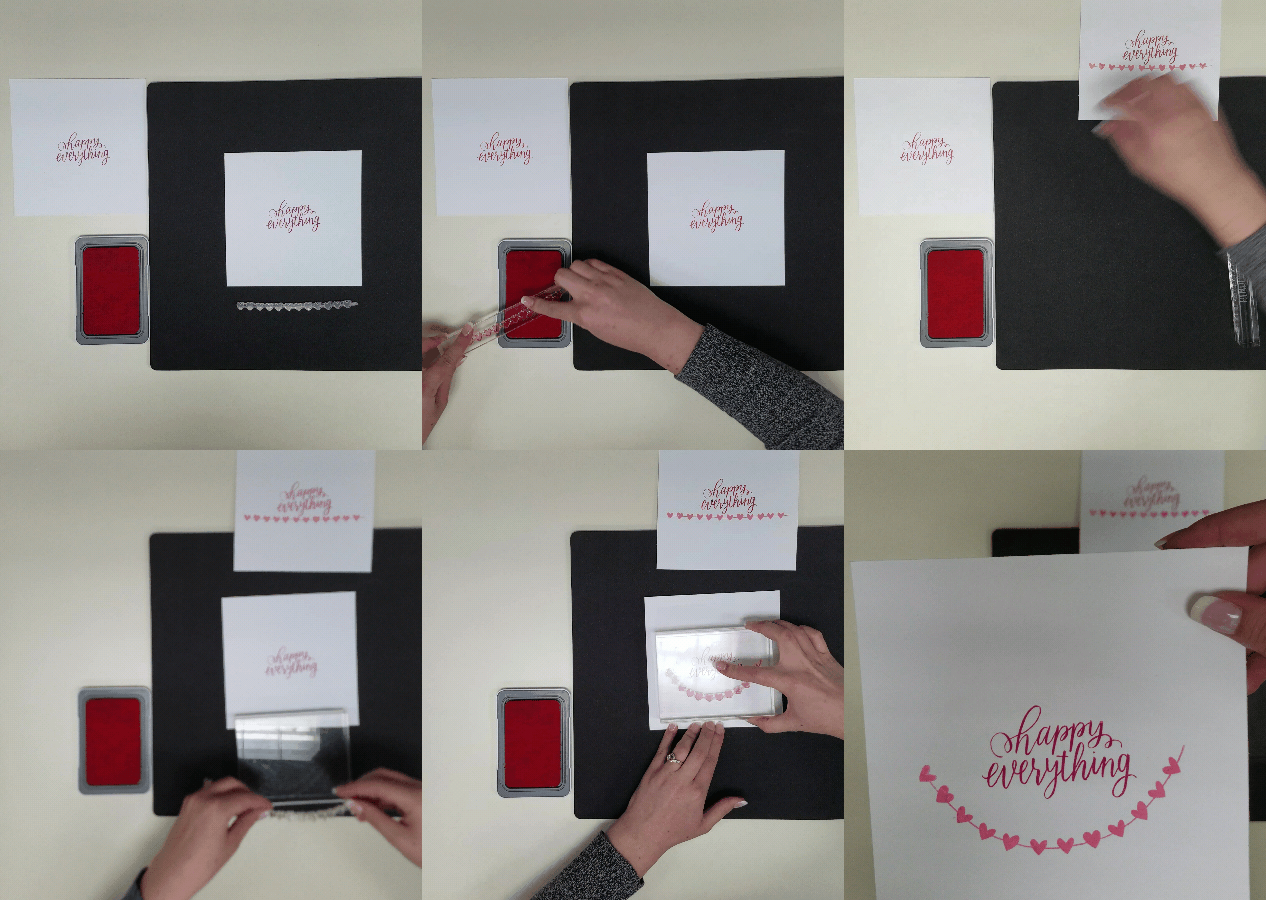
9. Rather than attaching your stamps to your blocks, try using your blocks to pick up your stamps from a flat surface. This way, the stamp will hold its natural shape.
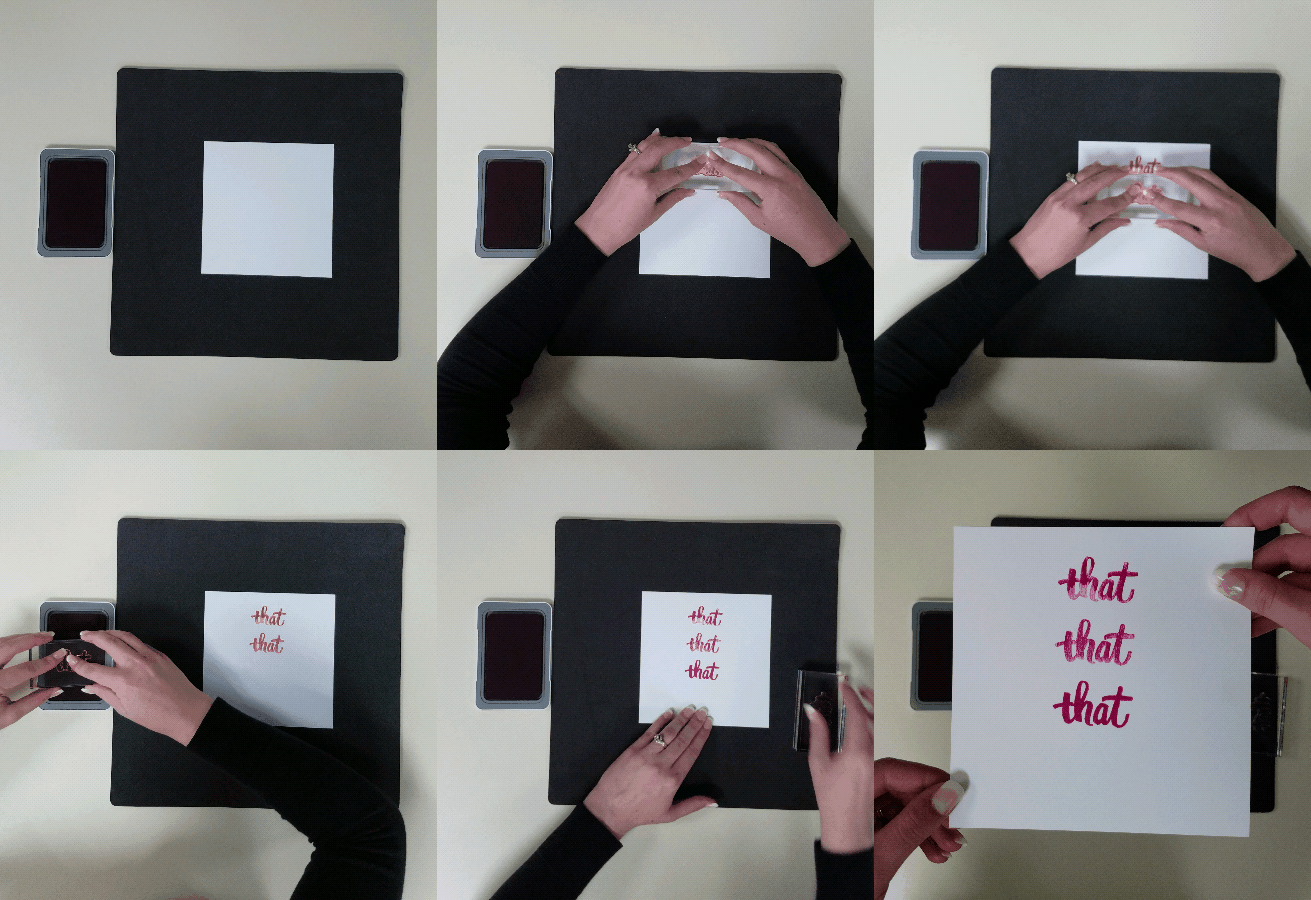
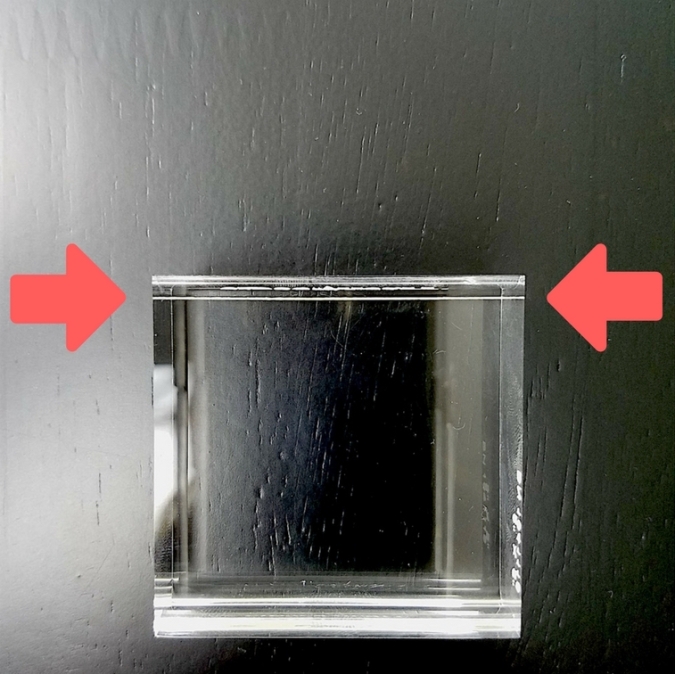
10. Our My Acrylix® blocks have a small white horizontal line on them to help you with stamp placement, which is especially helpful for keeping words and borders straight.
11. Some people cut apart their stamps in order to rearrange words in a sentiment when sticking them to their blocks.
12. Our stamps are flexible! Manipulate them so they fit inside shapes and banners, or just to get a different look!
14. Because our stamps and blocks are clear, you can easily stamp over the image again to get a richer, deeper image.
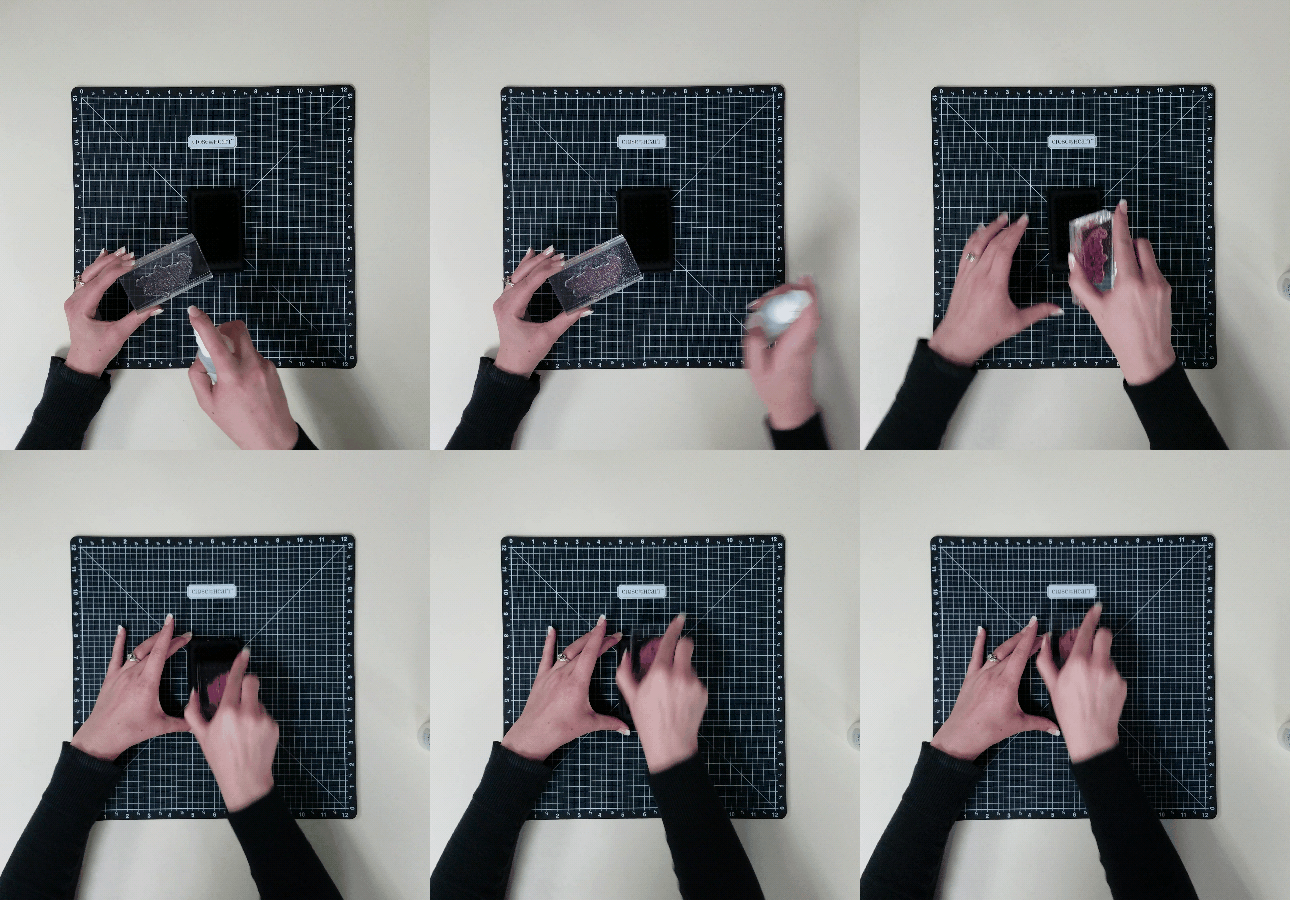
15. If you’re looking to remove that stubborn pigment ink, try our Spritz Cleaner and Stamp Scrubber. It makes it easy!
16. Our stamps don’t need to tan—they like being transparent, so keep them out of the sun!
17. Our stamps come in handy envelopes, which fit into our My Acrylix® organizer. You can also use our large organizer and tabs to store even more stamps. We also have a mini organizer for those mini stamp envelopes.
18. If your stamps ever start to lose their stickiness, all you need to do is rinse them with warm water and soap, and the stickiness will come right back. You can also use StazOn™ cleaner on the smooth side of the stamp.
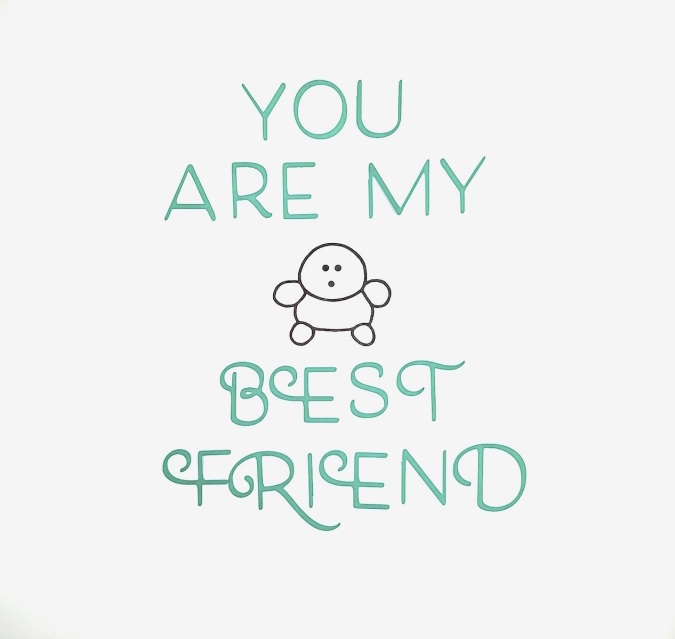
19. Some stamps make great friends, like our good ol’ friend, Sticky Boy!
1. We have French and Spanish stamp sets.
2. If you see a stamp image outlined in red, that means it coordinates with one of the shapes from our Cricut® collections. If it’s outlined in blue, that means it coordinates with one of our Thin Cuts dies.
3. We put A LOT of thought and effort into making the best stamps for our customers. See the entire process in this infographic:
4. After we design each paper packet, we create two coordinating stamp sets, one for scrapbooking and one for cardmaking, to be paired with that specific paper. These two stamp sets can be found in the idea book right behind the coordinating Workshops Your Way™ scrapbooking kits.
5. Our stamps are made right here at the Home Office, in a top-secret room.
6. It takes about one hour to make one sheet of stamps from start to finish.
7. New stamps work best when you “season” them. To do so, rub the stamp across a stamp pad, and then stamp onto scrap paper until the image is even.
8. Our stamps can be used with all sorts of inks, including dye, pigment, solvent, and alcohol inks.
9. Rather than attaching your stamps to your blocks, try using your blocks to pick up your stamps from a flat surface. This way, the stamp will hold its natural shape.
10. Our My Acrylix® blocks have a small white horizontal line on them to help you with stamp placement, which is especially helpful for keeping words and borders straight.
11. Some people cut apart their stamps in order to rearrange words in a sentiment when sticking them to their blocks.
12. Our stamps are flexible! Manipulate them so they fit inside shapes and banners, or just to get a different look!
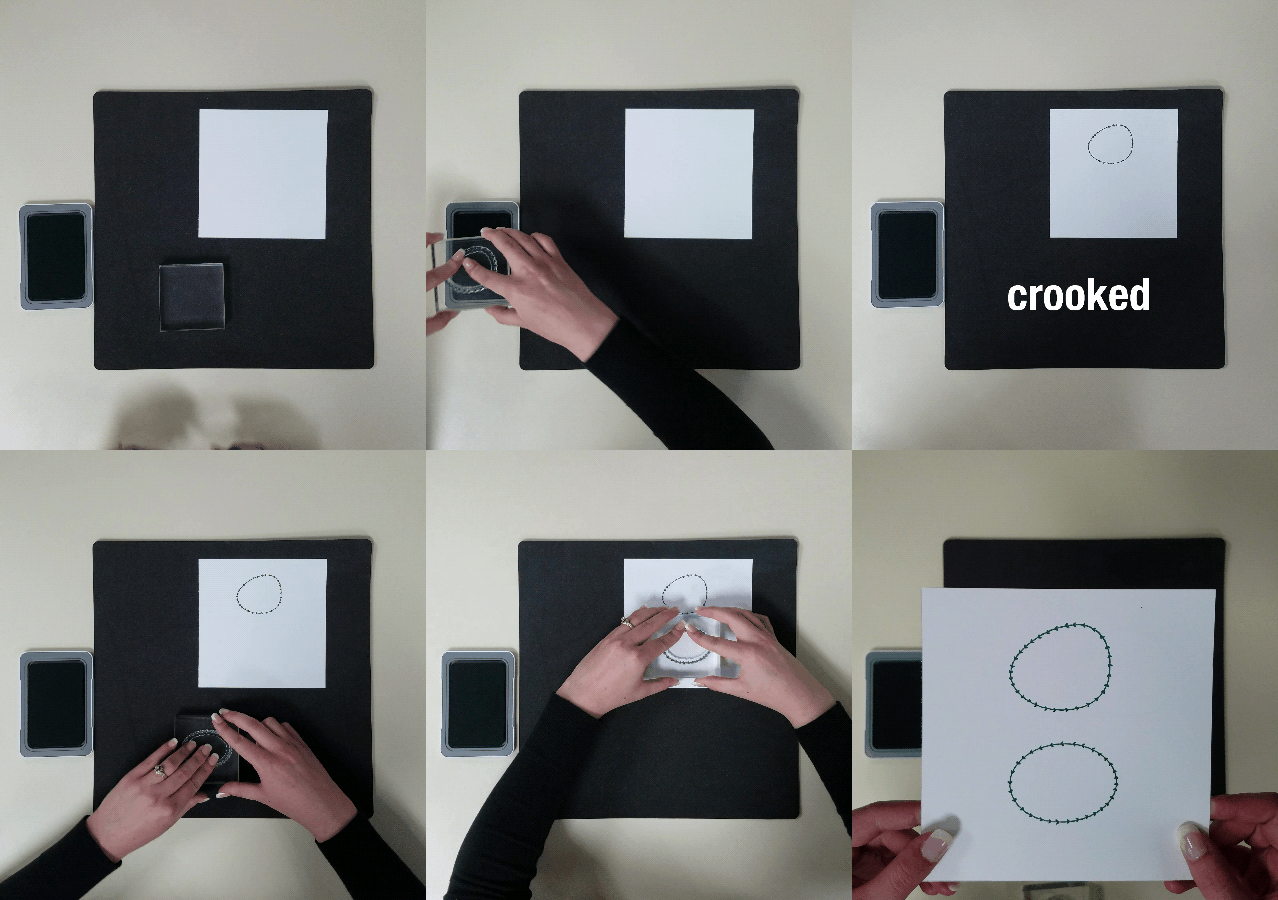
13. If some of your ink doesn’t transfer when stamping, quickly breathe over the stamp to re-moisten the remaining ink and then stamp over the image again. The missing portion usually blends into the existing image if the ink isn’t too dry. This is called the Huffing or Stamp Over Technique.
15. If you’re looking to remove that stubborn pigment ink, try our Spritz Cleaner and Stamp Scrubber. It makes it easy!
16. Our stamps don’t need to tan—they like being transparent, so keep them out of the sun!
17. Our stamps come in handy envelopes, which fit into our My Acrylix® organizer. You can also use our large organizer and tabs to store even more stamps. We also have a mini organizer for those mini stamp envelopes.
18. If your stamps ever start to lose their stickiness, all you need to do is rinse them with warm water and soap, and the stickiness will come right back. You can also use StazOn™ cleaner on the smooth side of the stamp.
19. Some stamps make great friends, like our good ol’ friend, Sticky Boy!
Tuesday, October 11, 2016
Chicago Tournament - Part 2
Hayley had such a good time at Millennium Park that we decide to take some senior pictures with her dressed up.
This time I used the Uptown Fundamentals for her 'Downtown' pictures along with the Happy Life Compliments. I really love how this page turned out with the colors mixing and matching with such ease.
Incorporating the Memory Protectors Pocket Plus really does make it so easy to use all of the pictures that I want to use. Plus, I always take so many and have a hard time deciding which ones to use or not use. Now I can use them all!
Here is a close up of some of the embellishments I used. I love using CTMH's 3D foam tape to pop up my embellishments for added dimension.
Above I used CTMH's Liquid Glass to add shine to the heart and peep hole on my camera. You can also see a close-up of some of the vellum compliments that come in the Happy Life Complements package. Fun and easy to use!
Till next time, your creative coach,
Lori
Tuesday, October 4, 2016
Chicago Tournament Layout - Part 1
So for one of Hayley's volleyball tournaments we flew to Chicago! We made sure to try Chicago's best pizza at Giordano's! The line to get in was at least an hour! After eating a couple of us moms took the girls downtown to the Millennium Park to see the sites.
For this layout I did some splatter technique using my watercolors. I am loving how easy it is to pull a layout together with our new fundamentals. I used the new Adventure fundamentals along with the Good Life Complements. Above is my layout w/o flip flaps.
With CTMH's new memory protectors pocket plus I was able to add 6 more photos w/o creating another layout! As you can see the girls had a great time seeing the downtown sites of Chicago.
Above is my layout with the memory protector open to the left. I added some of the compliments to the outside of the protector for added dimension.
Till next time make sure you take some time to capture those special moments to share for years to come.
Your creative coach,
Lori
Subscribe to:
Posts (Atom)